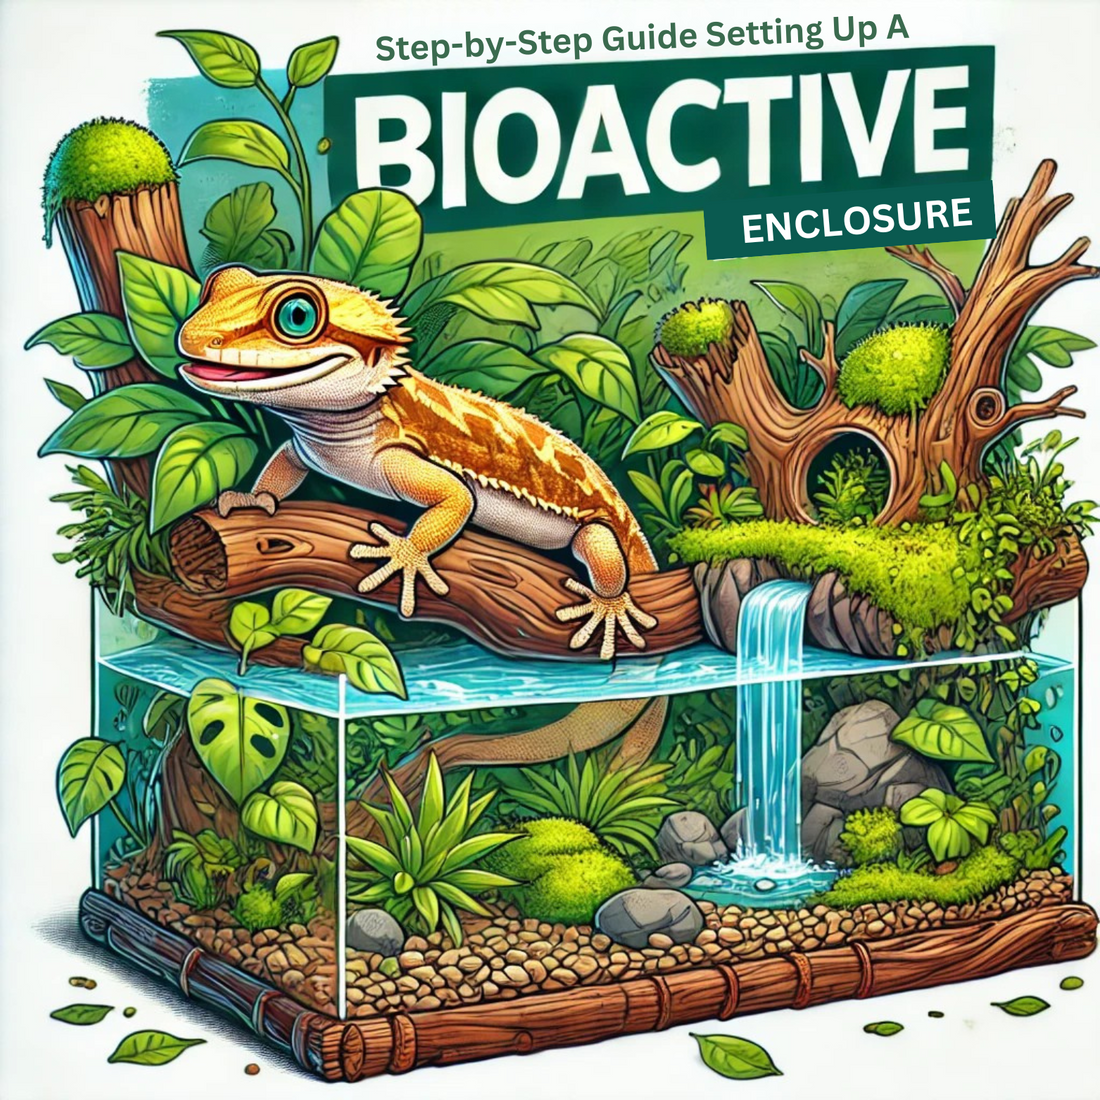
Step-by-Step Guide To A Tropical Bioactive Enclosure
Share
Ready to Bring the Jungle Indoors?
Tropical bioactive enclosures don’t just look incredible—they function like tiny ecosystems, working with nature to support your reptile, amphibian, or invertebrate. From natural humidity control to built-in cleanup crews, these setups offer a range of benefits that go way beyond aesthetics. Whether you’re new to the bioactive world or looking to upgrade your pet’s habitat, this guide will walk you through everything you need to get started—what you’ll need, how to build it, and why it works.
What is a Bioactive setup?
A bioactive enclosure is a self-sustaining ecosystem designed for reptiles, amphibians, or invertebrates. It includes live plants, beneficial microorganisms, and a cleanup crew (isopods and springtails) to help maintain a natural balance.
Step 1: Choosing the Right Enclosure
Before starting, consider your animal’s needs:
• Size– Choose an enclosure large enough for the species.
• Ventilation– Ensure proper airflow to prevent mold and stagnation.
• Material– Glass, PVC, or wood enclosures work, but each has pros/cons for humidity and temperature retention.
Step 2: Creating a Drainage Layer
A drainage layer prevents water buildup, which can lead to root rot and mold.
What You Need:
• Hydroballs / LECA (Lightweight Expanded Clay Aggregate)or lava rock
• A screen mesh barrier(prevents substrate from mixing with the drainage layer)
How to Set It Up:
1. Add a 1-2 inch layer of Hydroballs/ LECA or lava rock to the bottom.
2. Place a fine mesh screen on top of the drainage layer to separate it from the substrate.
Step 3: Adding the Substrate Layer
This layer supports plant growth and allows burrowing animals to dig.
Recommended Substrate Mix:
• Coco fiber or peat moss– Holds moisture well.
• Topsoil (chemical-free, no fertilizers/pesticides)– Provides a natural base.
• Orchid bark / cypress mulch– Improves aeration.
• Activated charcoal– Helps absorb toxins and reduce odors.
How to Set It Up:
1. Mix all substrate ingredients to create a loose, well-draining soil.
2. Add a 2-4 inch layer(deeper for burrowing species).

Disclaimer: With any loose substrate, impaction can be a risk. To help reduce this risk, we strongly recommend dish feeding or using tongs when feeding your reptile or amphibian.
Step 4: Introducing a Cleanup Crew
A cleanup crew helps break down waste, mold, and decaying matter.
Recommended Cleanup Crew:
• Isopods (Porcellio scaber, Armadillidium, etc.)– Decomposers that break down organic waste.
• Springtails– Tiny insects that consume mold and prevent waste buildup.
• Earthworms (optional)– Help aerate the soil.
How to Introduce Them:
1. Release springtails onto the substrate’s surface.
2. Add isopods directly to the substrate or under a piece of bark.
3. Provide leaf litter and decaying woodfor food and shelter.
Step 5: Adding Plants and Decorations
Live plants help regulate humidity and create a naturalistic environment.
Recommended Plants (Based on Humidity & Light Needs):
• Tropical Setups: Pothos, bromeliads, ferns, spider plants.
• Arid Setups: Snake plants, succulents, aloes.
• Temperate Setups: Ivy, mosses, creeping fig.
How to Plant & Decorate:
1. Dig small holes and plant roots firmly in the substrate.
2. Add hardscape elements(logs, rocks, cork bark) for hiding spots.
3. Arrange plants strategically to provide cover and climbing opportunities.
Step 6: Setting Up Lighting & Humidity
Lighting:
• UVB Light (if needed)– Essential for reptiles that require UVB exposure.
• LED Grow Lights– Helps plants thrive in low-light setups.
Humidity Control:
• Use a misting system or spray bottle to maintain proper humidity.
• Place a water dish if your animal requires drinking water.
Step 7: Let the System Establish
Before introducing your animal, allow the enclosure to stabilize for 2-4 weeks.
• Monitor temperature, humidity, and plant health.
• Ensure the cleanup crew is thriving.
• Look for mold or bacterial growth and adjust ventilation if necessary.
Step 8: Introducing Your Animal
Once the ecosystem is stable, introduce your pet. Observe their behavior and make adjustments if needed.
Maintenance Tips:
• Feed the cleanup crew with organic matter like dead leaves or vegetable scraps.
• Spot clean waste, but avoid deep cleaning—let the bioactive system do the work!
• Monitor humidity and mist accordingly.
Building a tropical bioactive enclosure isn’t just about creating something that looks great—it’s about designing a thriving, self-sustaining habitat that benefits both you and your animal. With the right materials, a little patience, and ongoing care, your setup will become a living ecosystem that supports natural behavior, improves overall health, and makes maintenance easier over time. Now that you’ve got the knowledge, it’s time to bring the jungle home—your animal will thank you for it.
